Christmas Cheers with Cracker Drinks

Somehow it’s almost December, the month where even I ditch my anti-social tendencies and join in with the many festive get togethers. I do love a good party as much as the next person- any excuse to dress up and go wild, but at the same time I think nothing beats a more intimate get together at a friend’s place where you can really sit down and catch up on the year just gone (because somehow we only manage to meet up in December every year and I bet I’m not alone in this!)

I might not be hosting in my flat this year but I’m all for improving my hostess skills ready for next Christmas when I’m determined I will be so when The Cracker Drinks Co. sent over some of their no added sugar fruit drinks and some cocktail/mocktail recipes I was quick off of the mark to get practising.

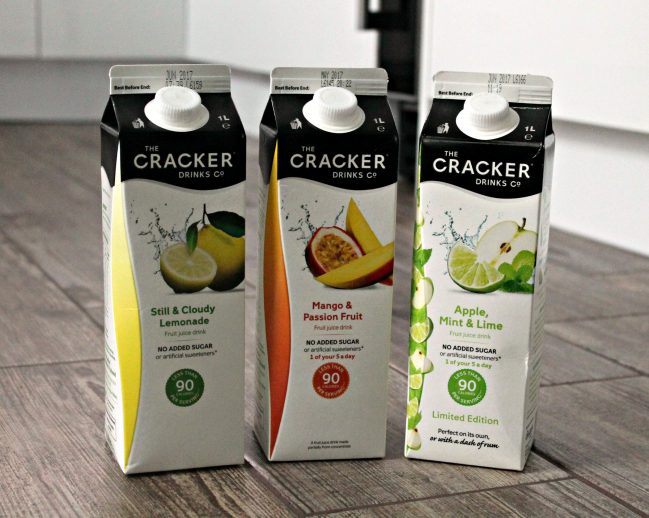
The Cracker Drinks Co. are experts are creating delicious fruity drinks with no added sugar meaning that the range is naturally lower in calories, averaging around 30% less calories per 100ml than 100% orange juice or added sugar juice drinks. It remains high in fruit content offering the added benefit of 1 of your 5 a day. The range is completely natural and free from any artificial sweeteners, with just Stevia to add a little extra sweetness.

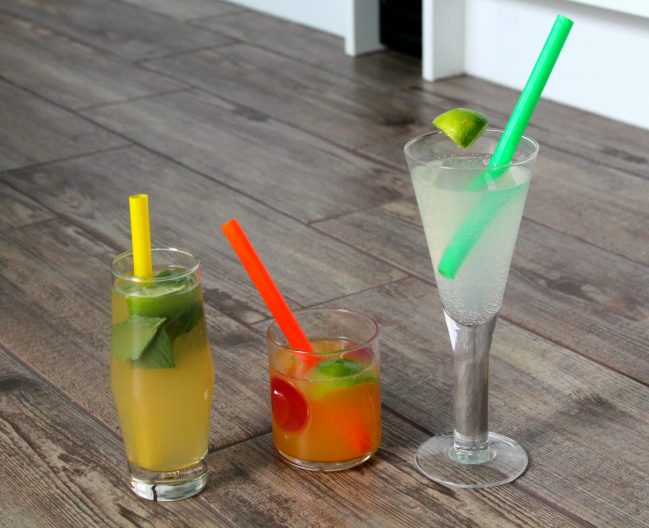
The drinks come in five flavours, of which I was sent the three you can see above. Perfect for drinking alone or using to spice up your Christmas cocktails (with a mocktail recipe thrown in for the non-drinkers out there).

Flowers n Spice

Ingredients
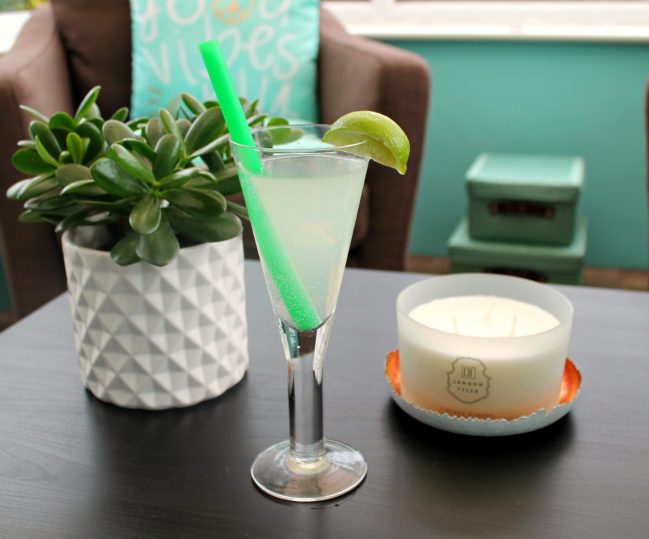
35ml St Germain Liqueur
15ml Vanilla vodka
100ml Still and Cloudy Lemonade
25ml Soda Water

Method
Add all ingredients to an ice filled glass and briefly stir
Garnish
Lemon wedge and twist

Light and Spicy

Ingredients
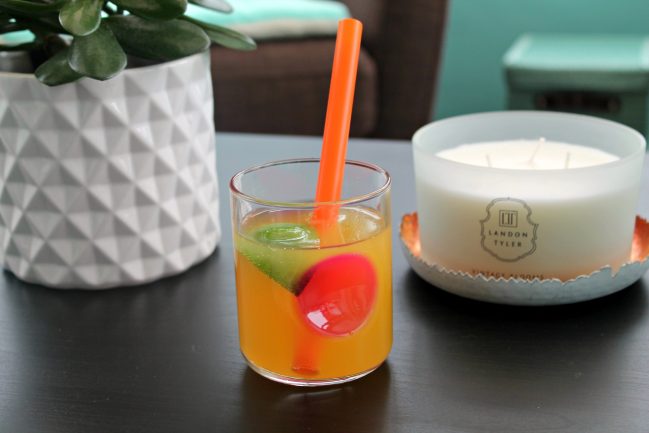
35ml Vanilla Vodka
100ml Mango & Passion Fruit
25ml Ginger Beer

Method
Fill a glass with cubed ice then add all the ingredients, stir briefly then cap with crushed ice
Garnish
Lime Wedge

Nojito

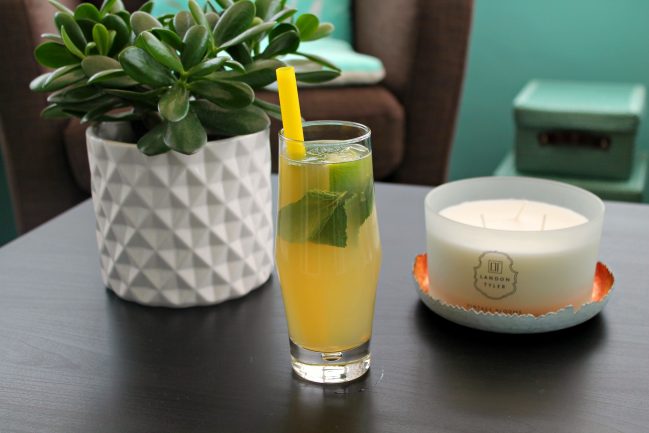
Take 200ml Cracker Apple, Mint and Lime
Top up with a little sugar free soda water
Add some mint leaves and a squeeze of lime
Serve over ice
Garnish with mint and lime

All three of these drinks were so quick and easy to make, even if I did fail to remember to make up some ice cubes prior to making the drinks- fail! They were all delicious though, the Nojito was my favourite I think- the combination of flavours was just lovely and I’m a big fan of the alcoholic Mojito anyway…serve this up to any drivers/non-drinkers at a part and they’ll love you forever! It’s almost impossible to pick a favourite out of the two cocktails though- both were so different to each other and so unlike any drinks I’ve had before thanks to the unique combination of flavours in the mixers…both big hits with me and new staples on my party drinks menu (you know, if I held parties and had a drinks menu!)

Let me know what your favourite cocktails and mocktails are in the comments- I’d love to try them out, all in the name of research of course

I won’t lie, drinking these at 2pm was definitely a highlight of my especially dull and dreary day!

end

Juices provided by The Cracker Drinks Co. to create this post, all other ingredients came from me (hence the lack of ice!)

Baking with Macabella

It probably hasn’t escaped anyone’s notice that baking is one of my hobbies and one of the only upsides of having been off of work for so long now is that I’ve been able to indulge my love of whipping up cakes and cookies for my friends and family. Over the last few months I’ve tried many a new recipe or ingredient and when Macabella got in touch asking if I’d like to try out their amazing sounding chocolate and macadamia spread and come up with some recipes using it I was ready for the challenge. I’ve actually been itching to try this spread since seeing my good friend Amy’s review of the crunchy variety so there was definitely excitement in the air when my goodies arrived.
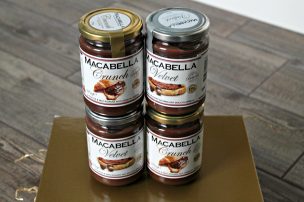
Nestled in a swanky gold box were four jars of Macabella spread- two velvet ones and two of the crunch variety. After having a good old think about things I decided on baking two recipes using the products- one cookie and one cake.
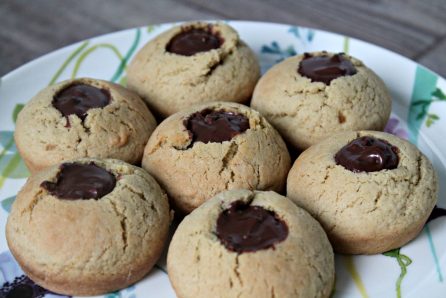
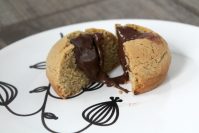
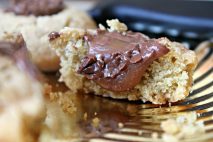
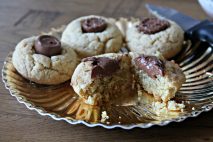
For the cookies I used my tried and tested Rolo cookie cup recipe and followed the instructions up until the point where the biscuits came out of the oven. At that point instead of pressing rolos in to the still hot cookies I poked holes (using the end of a clean makeup brush for want of a better tool) and allowed the biscuits to cool slightly. I briefly considered using my thumb to make the indents but quickly dismissed that idea once I realised how stupid it would be to poke my own skin in to a red hot cookie! Whilst still warm I took teaspoons full of Macabella crunch and placed it inside the holes I had created…I found softening the spread for 15 seconds in the microwave made it easier to work with. As you can see, the end result is a lovely soft baked cookie that oozes chocolate-y macadamia goodness when you bite or cut in to it. These proved a massive hit with my Dad and his colleagues and took under an hour from start to finish to make.
For the cake I tried a new to me recipe that I modified by swapping the 100g of nutella for 100g of velvety smooth Macabella. This cake uses the all in one method so is really quick and simple to do and results in a wonderfully light but decadent sponge.

I filled the cake using the rest of a jar of Macabella crunch (make sure you do it whilst the cake is still warm) then topped it with Macabella velvet and a pot of chocolate curls. So simple and yet so effective and the true testament to what a wonderful cake you get when you use Macabella is how fast it disappeared when I dropped it in to work!

Neither of these recipes are complicated, nor do they take a long time to whip up and both were ultimately enhanced by the use of Macabella spreads and there is already demand for more!

Have you tried Macabella spread before? Either as a spread or in baking? What baked goods would you use it for? I strongly suggest you hot foot it to your nearest Sainsburys (the only UK stockist) and get some of this goodness for yourselves and get experimenting. Visit the Macabella website for more about the spread and for more recipe ideas.

end

The Bake-Off Effect: Gin and Tonic Cake

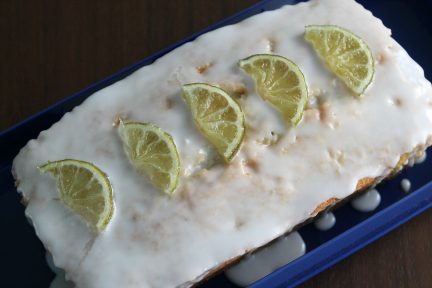
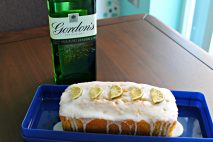
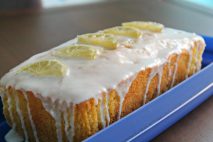
Like what appears to be most of the UK (and beyond) population I’m currently swept up in Great British Bake-Off mania. Wednesday evening between 8pm and 9pm is sacred time and I resent anything that gets in my way, even a stag do of sorts. Ever since we viewed the first episode and saw one of contestants make a gin and tonic drizzle cake I’ve been informed by Mum that one just had to be made, being the dutiful daughter that I am I googled away and found this Good Housekeeping recipe and got baking.
I’m no food photographer so the photos really don’t do this justice but I was really pleased with how it turned out. It wasn’t the trickiest of cakes to make but it was time consuming thanks to several elements to the decorating process but it was worth it. This vanished in record time and has already been requested again as a birthday cake. I’ve popped the link to the recipe above but for those who can’t be faffed with clicking (guilty of this) here it is:

Cake Ingredients

200 g (7oz) unsalted butter, softened, plus extra to grease
200 g (7oz) caster sugar
4 medium eggs, beaten
200 g (7oz) self-raising flour
1/2 tsp baking powder
finely grated zest 1 lime
75 ml (3 fl oz) gin

For the Syrup and Topping

25 g (4oz) caster sugar, plus extra to sprinkle
125 ml (4 fl oz) tonic water
31/2 tbsp gin
2 limes, cut in half through their length and sliced into 3mm (1/8in) half moons
100 g (3 ½oz) icing sugar, sifted

Method

Preheat oven to 180°C (160°C fan) mark 4. Grease and line base and sides of a 900g (2lb) loaf tin with baking parchment. In a large bowl beat butter and sugar with a handheld electric whisk until light and fluffy – about 5min. Gradually add eggs, beating well after each addition.

Fold in flour, baking powder and lime zest, followed by the gin. Spoon into prepared tin and bake for 55min-1hr or until a skewer inserted into the centre comes out clean.

Meanwhile, make sugar syrup: gently heat the caster sugar and tonic water in a small pan, stirring often, until the sugar dissolves. Turn up heat and boil for 1min. Spoon 2tbsp of the syrup into a small bowl and mix in 2tbsp of the gin (this mixture will be used to soak the loaf later). Set pan of remaining syrup aside.

As soon as the loaf comes out of the oven, poke holes into the top with a skewer and drizzle over the reserved syrup/gin mixture. Cool loaf in tin on a wire rack.

Meanwhile, make the candied lime slices. Reheat the remaining sugar syrup in its pan until boiling, then add the lime slices. Simmer for 10-12min until the slices are translucent. Lift out slices with a slotted spoon on to baking parchment, then sprinkle both sides of the lime slices liberally with caster sugar. Leave to dry.
Make icing by mixing together icing sugar with remaining 1½tbsp gin. Remove cooled loaf from tin, transfer to a board and peel off parchment. Pour over icing and decorate with the dried candied lime slices. Leave the cake to set before serving.

Let me know what you think if you make this…and fellow GBBO obsessives, what have you been inspired to make?

end

Rolo Cookie Cups

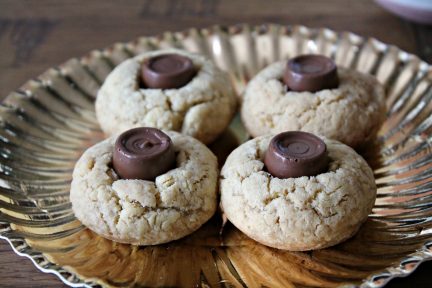
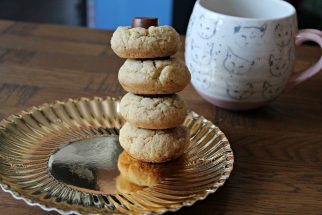
I’ve found baking to be a great help to me of late. With time on my hands at an abundance getting lost creating in the kitchen has both kept me occupied and helped me to discover delicious new treats to add to my daily diet. Of course it’s also making me incredibly popular with family, friends and colleagues and one of my most recent hits were these Rolo Cookie Cups which really couldn’t be simpler to make but look pretty special.
You’ll need:

115g unsalted butter (softned- I find ten seconds in the microwave does the trick)

115g light brown soft sugar, although caster sugar works fine

1 large egg

225g plain flour

Half a teaspoon of bicarbonate of soda

12-16 Rolos depending on what size tin you use

What to do:

Preheat your oven to 170c (make it 160 for a fan oven) and lightly grease either a 16 hole mini muffin tin or 12 hole standard bun tin.

Put the butter and sugar in to a mixing bowl and beat until light and fluffy. Mix in the egg then add the flour and bicarbonate of soda.

Using your hands roll small handfuls of dough in to balls and place a ball in to each of the baking tin holes. If the mixture is too crumbly then a splash of milk helps, it’s too sticky then dusting your hands with a little flour will make things less messy.

Now pop the cake tin in to the oven, leaving the balls as they are. Bake for around 12 minutes until lightly golden. Use the baking time to get your Rolos unwrapped and ready.

Once cooked take the cookie cups out of the oven and straight away push a Rolo in to the top of each one (be careful as they are of course going to be very hot!) Leave the cookies to cool in the tin completely before removing and enjoying!

I’ve made these a few times now and have experimented with different chocolates as well, celebrations worked well as did squares of plain old milk chocolate.

Let me know if you make these, especially if you try out some different toppings. They are so quick and easy to do and an instant crowd pleaser!

What have you been baking lately?

end

Nutella Brownie Baked Doughnuts

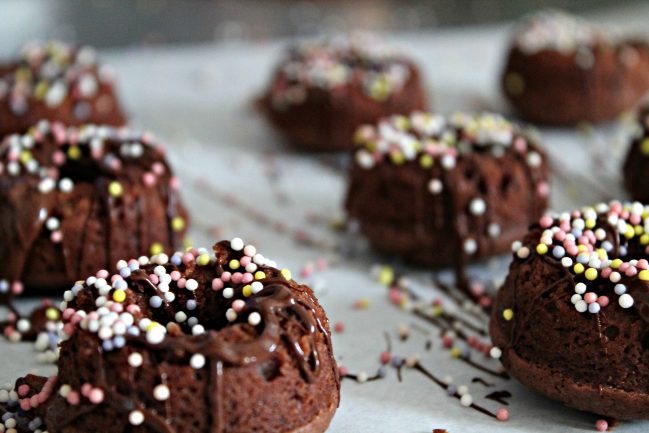
Wow, another baking post, I’m on fire right? I’ve had quite a bit of free time lately and have spent some of that getting busy in the kitchen fulfilling requests for baked goods. When a demand for brownies came my way I knew instantly I was going to make the 3 ingredient nutella brownies (that I’ve blogged before) as these always go down well. Seeking a way to jazz them up a bit I chose to bake them in a silicone doughnut mould, and as they didn’t look too exciting naked I melted down some dark chocolate and coated them (and the kitchen) in sprinkles.
I’m really pleased with the end result of these and they went down very well with the recipient. Honestly these are just about the easiest thing you can bake- you simply take 175g of nutella, one large egg and 5 tablespoons of flour and mix it all together. Add a splash of milk if the mixture seems on the dry side and then pop in to baking receptacle of your choice- cupcake cases, silicone moulds or a standard cake pan all work well. Bake at 180*c for 10-15 minutes depending on how you like your brownies and jobs a good ‘un!

Let me know if you make these and what you think of them. What are some of your favourite easy bakes?

end