Autumn Baking; Apple Muffins

The other day I had an afternoon to myself and a sudden urge to bake. Now the weather has started to turn  I feel more like baking up a storm; warm kitchen and the smell of freshly cooked cake…that has to be an Autumn Highlight!

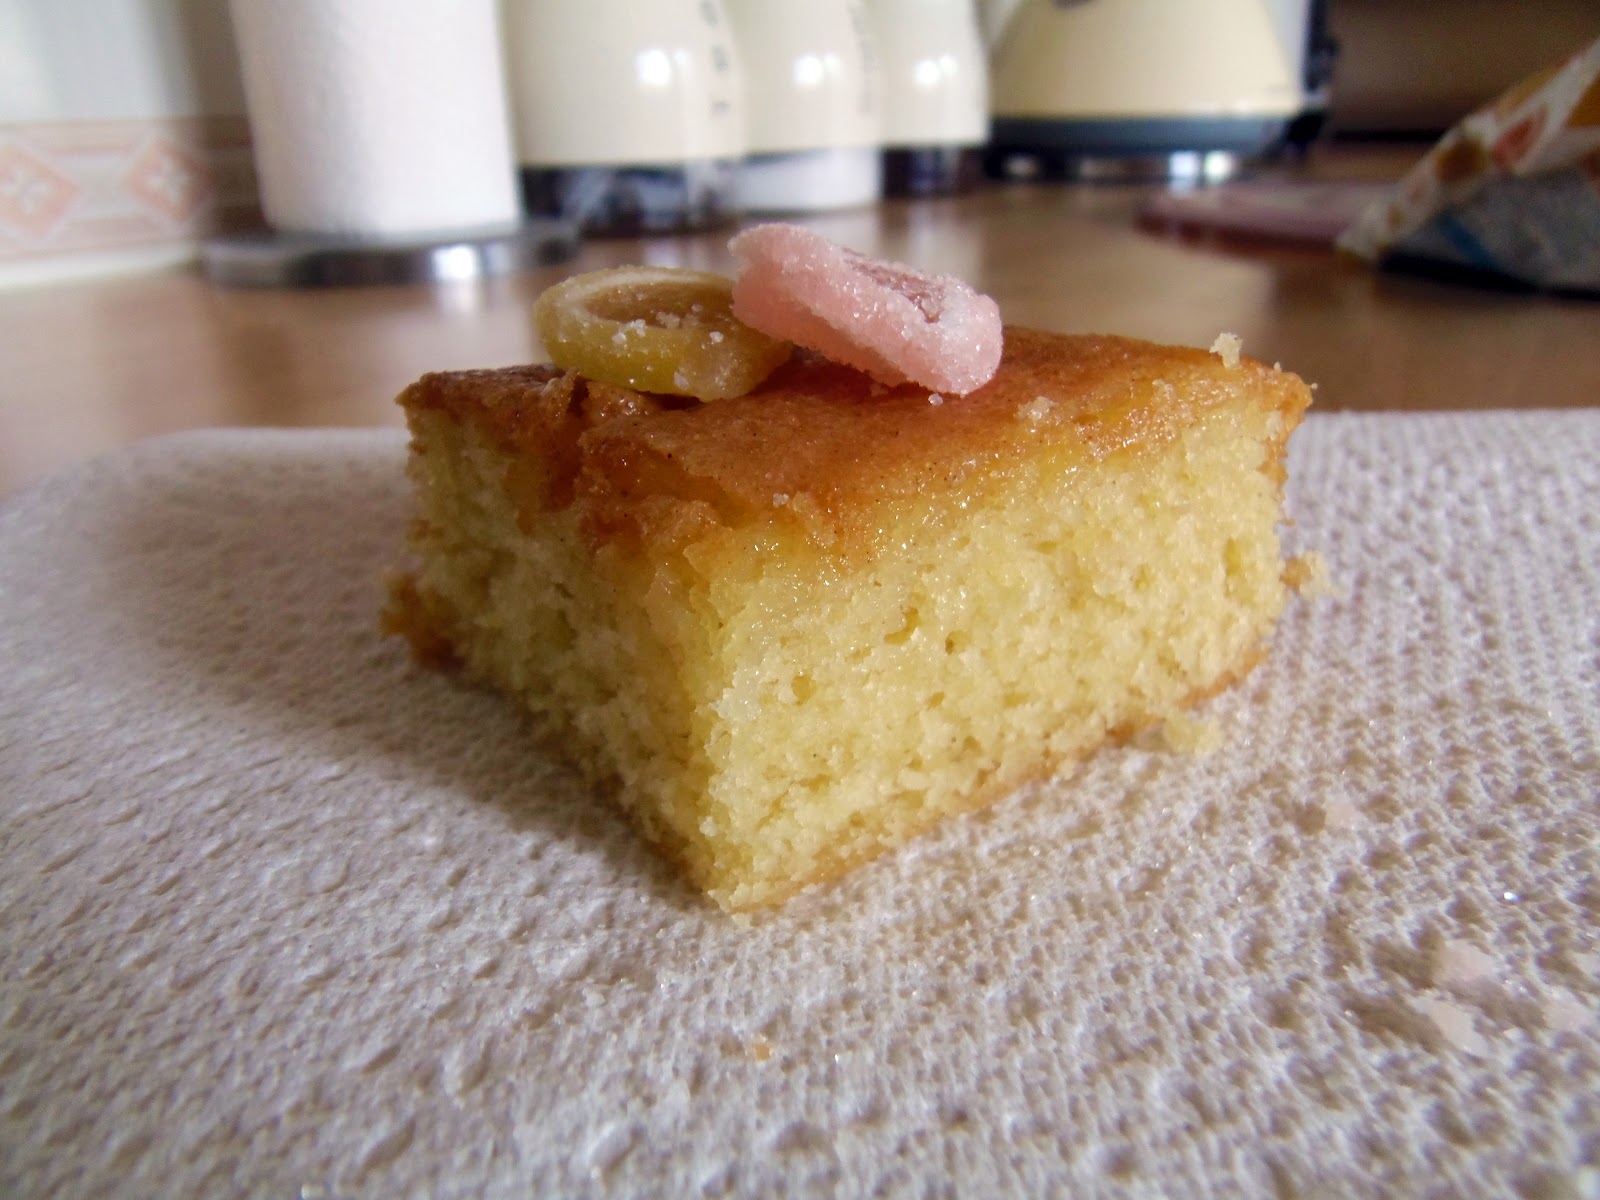
Inspired by some apples going soft in the fruit bowl, I whipped up a batch of Apple Muffins (although I decided to make one large cake, which worked just as well) using a recipe I found online.
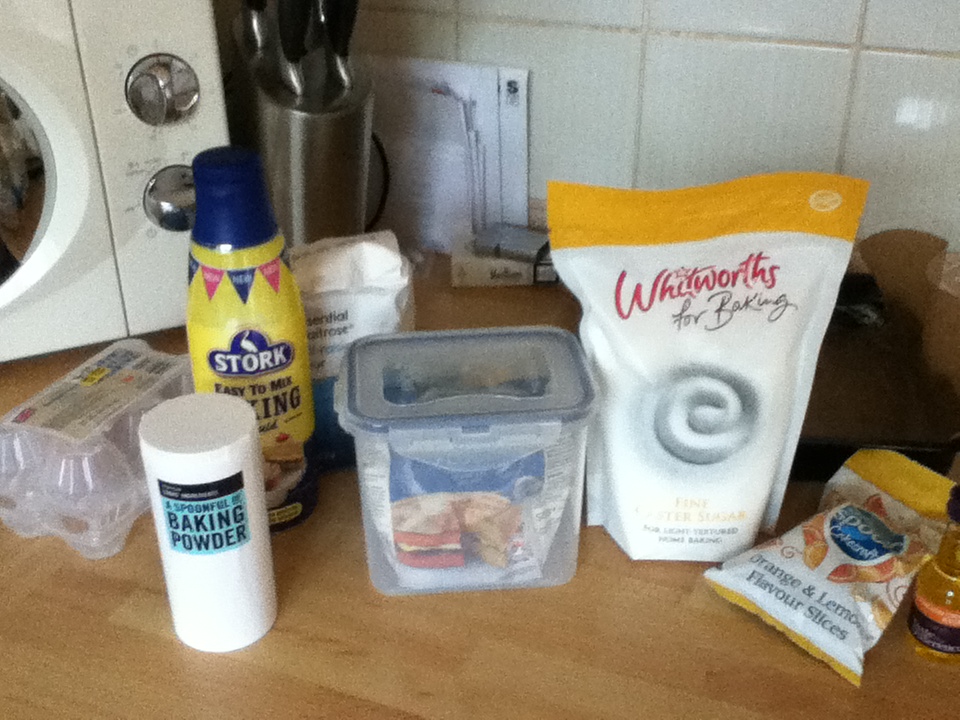
  • 225g of plain flour
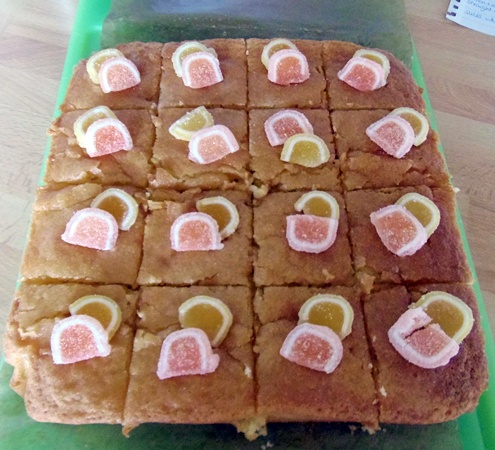
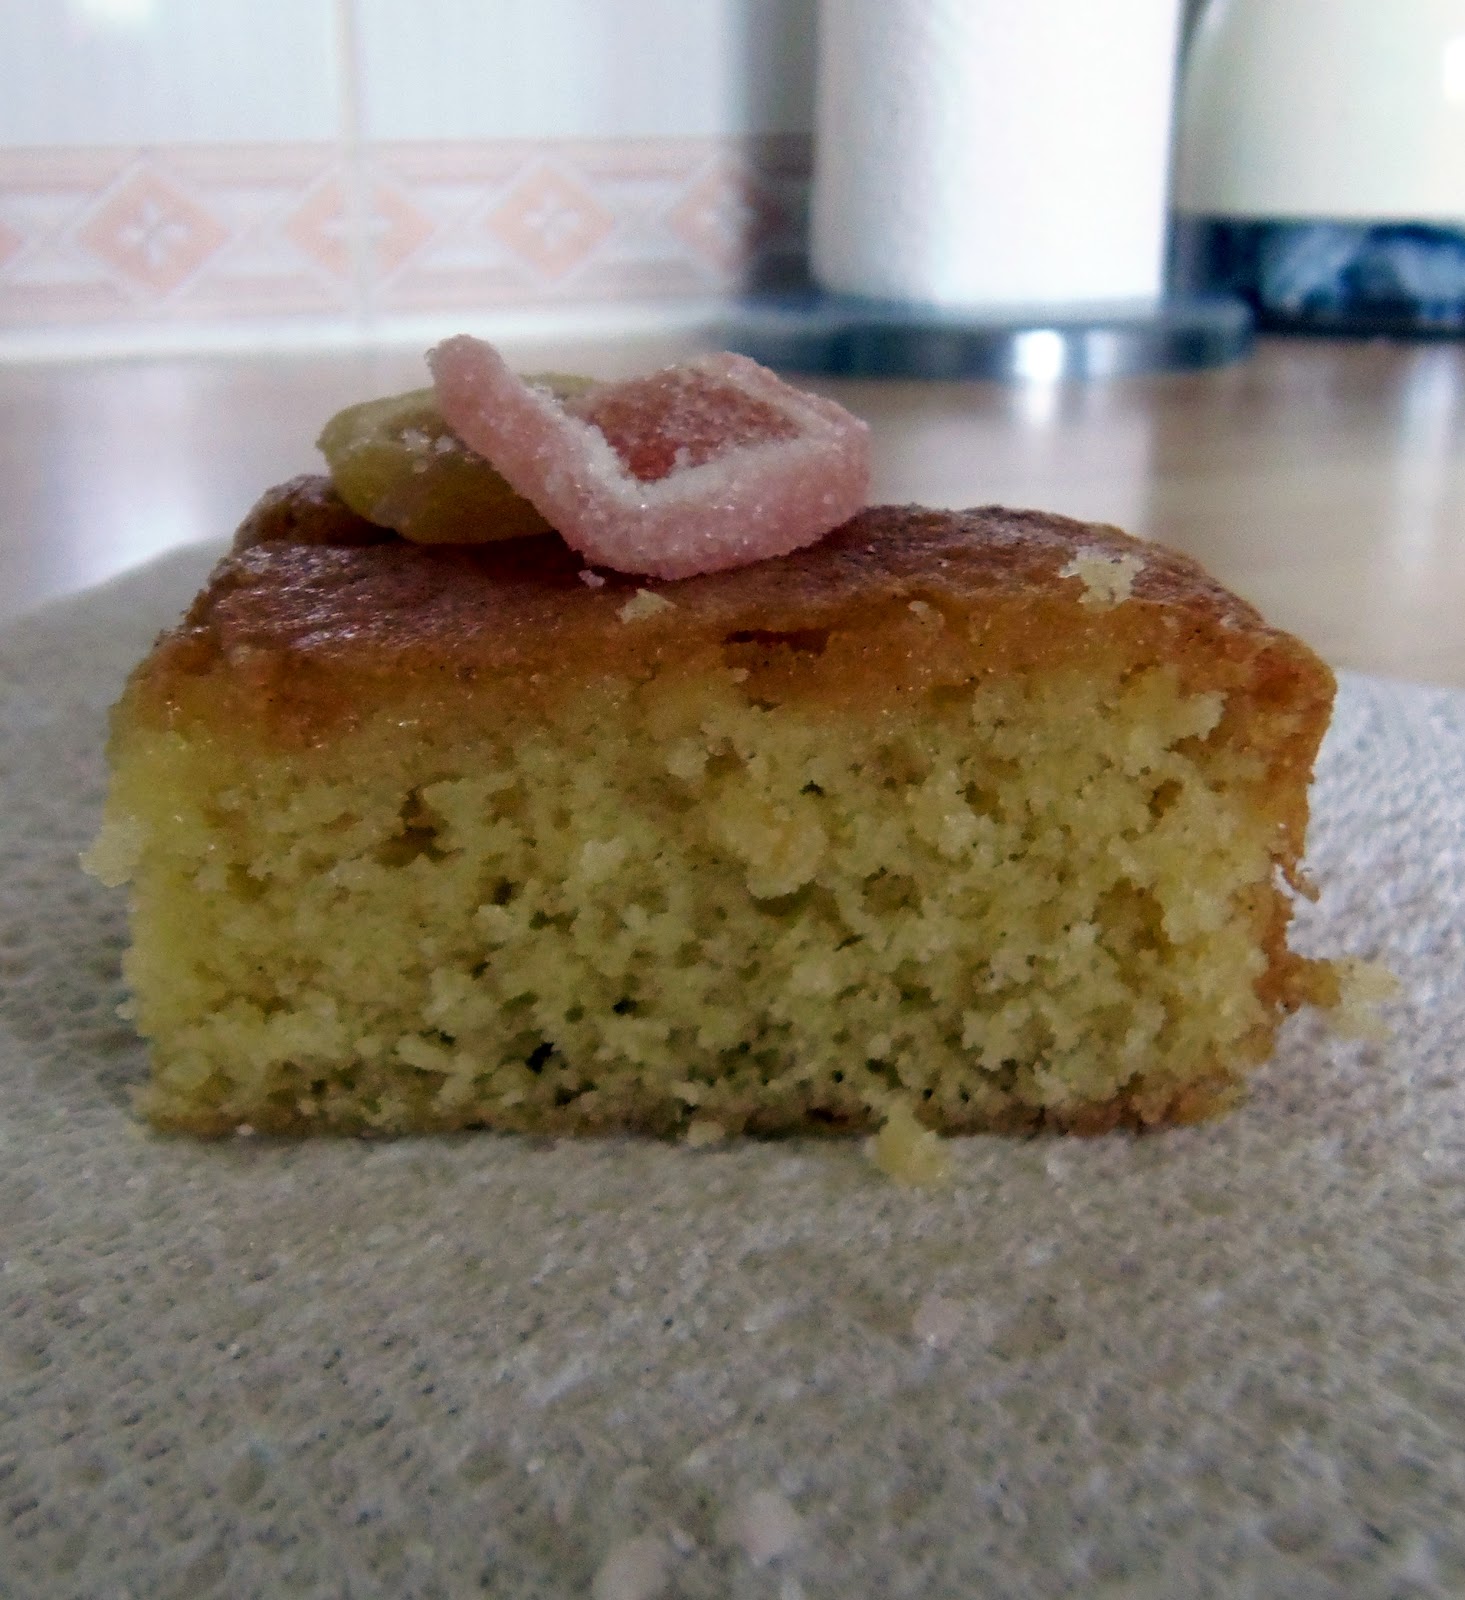
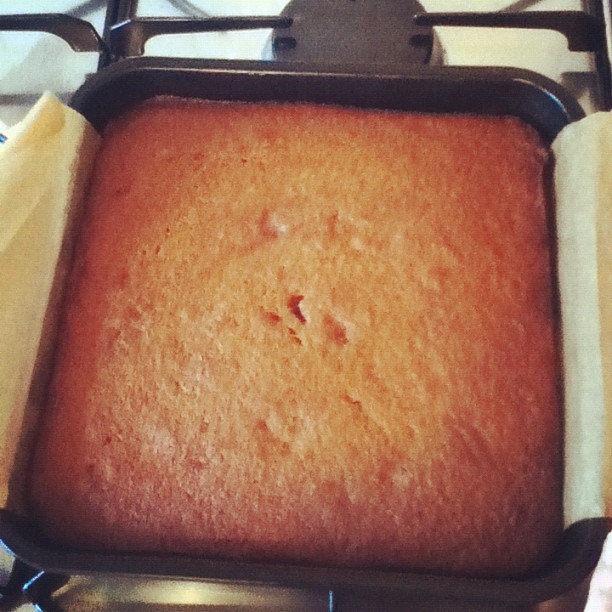
  • 3 tbsp of baking powder (I think this is meant to be 3tsp, as you can see, my cake sunk from rising too fast!)
  • 1 tsp of salt
  • 1 tsp of ground cinnamon
  • 1 tsp of ground nutmeg
  • 1 tsp of ground ginger
  • 100g of caster sugar
  • 1 egg
  • 150ml of milk
  • 3 tbsp of sunflower oil
  • 40g of unsalted butter
  • 170g of Granny Smith apple, peeled and diced (I used gala apples)
  • 70g of golden sultanas
  • 3 tbsp of light brown sugar

1.
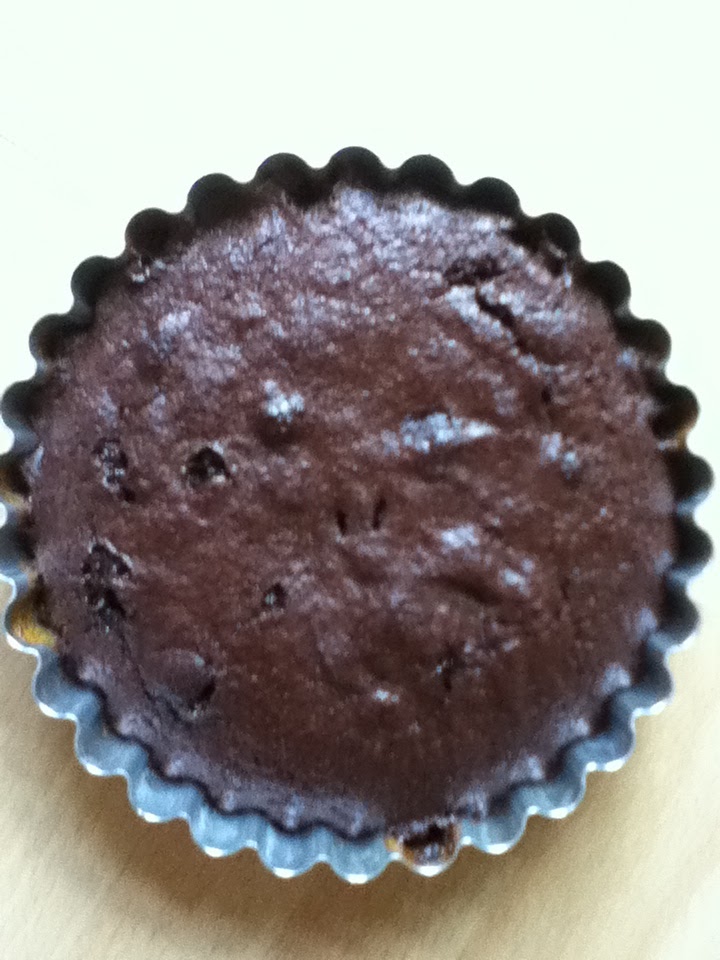
To make this apple muffin recipe, start by preheating the oven to 190˚C/Gas mark 5 and place 12 muffin cases in a muffin tray; or in my case, grease and line a cake tin. I also made three regular sized muffins for snacking, too!
2.
In a large bowl, sift together the flour, baking powder, salt, cinnamon, nutmeg, ginger and sugar.
3.
Peel, core and dice the apples. In a separate bowl, beat the egg and stir in the milk. Add the oil, melted butter and stir in the diced apple.
4.
Add the wet mixture into the dry and combine well. Stir through the golden sultanas.
5.
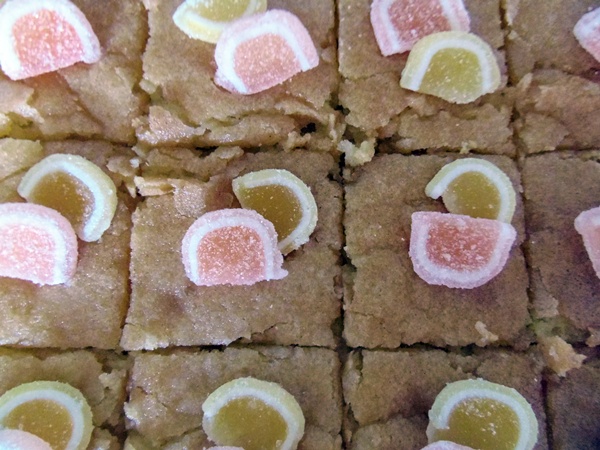
Spoon the mixture into the muffin cases (tin) and sprinkle the tops with brown sugar
6.
Bake in the oven for 20 minutes until lightly brown. The apple muffins should spring back when pressed. Allow to cool slightly before eating; I found my large cake was perfectly cooked in the 20 minutes and the muffins only took 15. I think this will vary depending on your oven though, I know for a fact mine runs hot.

Do you have a favourite Autumn recipe, or a tried and tested apple cake recipe? Feel free to share it in the comments section!
(This cake was GOOD, but I think there were flaws in the recipe such as the quantity of the baking powder, I should have followed instinct and added less).

oranges and lemons

Last week the folks at Baking Mad got in touch challenging me to recreate a recipe from their website…with an extensive range (everything from how to make pancakes to a divine sounding peanut butter and chocolate cupcake recipe) it was hard to pick something to make but in the end, wanting something light and fruity for the hot weather I settled on the old favourite St Clements Traybake.

I have a love/hate relationship with online recipes, but I have in the past used many from Baking Mad with great success. This was no different and the results were a delight (even if I do say so myself!)

The ingredients list was nice and short, making the recipe budget friendly; something that stops me baking as much as I’d like can be the cost of ingredients. Although the website suggests specific products to use, I didn’t have access to them all so used equivalents:

100g softened butter (plus a little extra for greasing)
175g self raising flour (Allison Nature Friendly) sieved
1tsp baking powder
175g Golden Caster Sugar (Billingtons)
2 Happy Eggs
6tsp Just Milk
1tsp pure orange extract.

For the topping you’ll need the juice of one large lemon and another 100g of golden caster sugar; plus retro fabulous orange and lemon jelly slices to decorate!

The method was a quick and easy all-in-one job, which is just what I like!

1. Preheat the oven to 180*c, 160*c (fan) or Gas Mark 4

2. Grease/line a shallow oblong tin (approx 18x28cm)

3. Place all the cake ingredients in to a large mixing bowl. Preferably using an electric mixer beat the mixture for 4-5 minutes, or until the mixture drops easily off a spoon.

4. Spoon the mixture in to the tin and smooth the surface. Bake for 30-35 minutes or until golden and firm to touch.

5. While the cake is baking prepare the icing. Beat together the lemon juice and sugar. As soon as the cake comes out of the oven pour the mixture evenly over the top, then leave to cool.

6. Cut the cake in to 16 squares, them top each one with the orange and lemon slices.

And that’s it! This really is quick and simple..and the best bit? It’s best eaten WARM, which means no hanging around to dig in!

Have you used the Baking Mad website before? Which recipes have caught your eye?

xxx

Easy Baking; Super Simple Chocolate Brownie

Who doesn’t love a chocolate brownie? This recipe has to be one of the quickest, simplest ones I have found, using only store cupboard ingredients meaning when the craving hits, you’ll be able to oblidge without a mercy dash to the supermarket! There is plenty of scope for something fancier too, for the small one in the first photo I added honeycombe pieces, other additions would be fruit, nuts, chocolate chunks…whatever you like really!

The recipe is one we clipped out of a magazine many years ago, so long ago I can’t even remember which magazine!

You’ll need:

8oz butter or margarine
16oz brown sugar
8oz plain flour
1 level tsp baking powder
1 heaped tsp salt (trust me!)
8 tablespoons of cocoa powder
4 eggs

(the recipe is very easily halved, it does make rather a lot!)

Method:

Melt the butter and sugar together in a large pan over a gentle heat

Once melted, add in all of the dry ingredients/eggs and beat togther

(at this point you’d also add anything fancy your throwing in)

Bake in a greased/lined 8 x 12 inch tin at 180*c for 20-30 minutes; a skewer insterted in the middle should come out clean. If you don’t want the top to go crispy/if the middle is taking a long time to cook you can cover the brownie with foil after 20 minutes and continue to bake.

Remove from oven, cool and slice.

This is one of those recipes that is amazing straight from the oven, but the texture improves if you can resist until the next day!

The recipe also suggests adding a topping, which I didn’t do, but a chocolate or coffee buttercream would work well!

Happy Baking,
let me know if you make this and what extras you add in!

~ ~ ~ ~ ~

Dream scenario: get paid up to £100 to shop and get served by a celebrity shop assistant. Interested? Head down the Quidco Cashback Boutique on Rathbone Place, just off Oxford Circus next Thursday from 9am-1pm and you’ll get both.  P.S. We’re finding out tomorrow who the celebs are – stay tuned!  

(Check out the Quidco Website for more information and to download the App)

Easy Baking; Malt loaf

I shared this picture during last week (if the title doesn’t give it away, it’s a homemade malt loaf) and quite a few people expressed an interest in having a go too, so I thought I’d share a quick and easy recipe for making it yourself…

Actually, my recipe was probably quicker and easier than most as I had a bag of malt loaf bread flour that simply required yeast, salt, sugar, butter/oil and some raisins in the bread machine, but you don’t need a special flour, or a bread machine to do this and I trawled the web to find a tried and tested recipe to share.

I settled on this recipe from Baking Mad which doesn’t even use yeast so negates needing time (great for those as impatient as myself!) I haven’t tried it personally, but I have tried many of their recipes with great success…

110 grams Sultanas
110 grams Raisins
40 grams Butter
145 ml Water
175 grams Self Raising Flour (Allinson Nature Friendly)
0.25 tsp Bicarbonate Of Soda
Salt
110 grams Dark Muscovado Sugar (Billington’s)
1 Happy Eggs Large, beaten
1 tbsp Malt Extract

  • How to Make:
  1. Heat the oven to 180C,350F, gas 4. Grease and flour a 450 g|1lb loaf tin.
  2. Put the sultanas, raisins, butter and water into a pan. Bring to a boil and simmer for 5 minutes. Remove from the heat and set aside to cool a little.method tip
  3. Sift the flour, bicarbonate of soda and salt into a mixing bowl. Stir in the sugar.
  4. Pour in the warm fruit mixture and add the beaten egg and malt extract. Mix well until blended.
  5. Pour into the prepared tin and bake for for 35 – 45 minutes or until a skewer inserted comes out clean. Leave in the tin for 10 minutes, then turn out onto a wire rack to cool.method tip
  6. Serve sliced and spread with butter.

If you do give this recipe a go, let me know! Once I’ve used up my massive bag of malt loaf flour (which you can order online, I found mine in a local garden centre with a good food hall) I’ll be giving this a shot!

xxx

A Cake

Everything I learnt about baking came from my Nan; one of my earliest memories is making rock cakes with her whilst my Grandad cleared up the mess, and as the years progressed the things we made got more adventurous and I became more independent. Actually, I never used to bake at home, I always went to my Grandparents to do so (maybe because I have a natural flair for making a mess) and thus, when it came to providing refreshment after her funeral today, it seemed only right that I baked my contribution.

I opted for a Sticky Toffee Date Cake, found on this delicious blog

Ingredients:

200g of dried dates
275ml of boiling water
1 tsp bicarbonate of soda
175g soft light brown sugar
150g  butter, room temperature
3 eggs, beaten
175g self raising flour

Method:

  1. Pour the boiling water over three-quarters of the dates
  2. Leave to soak for 30 minutes
  3. Preheat the oven to 175degC
  4. Blending together the butter , sugar and the soaked dates (including the soaking water)
  5. Add the eggs and finally stir in the self raising flour and bicarbonate of soda
  6. Finally stir in the remaining unsoaked dates
  7. Pour into a 30cm square lined cake tin
  8. Bake for 40 minutes until firm to the touch
  9. Allow to cool , cut into squares and serve

What was the first thing you learnt to bake?

Thank you for the continued support, maybe now things will find some semblance of normalcy…

xxx